Discord bot to compile and run code and fix code formatting, all without leaving discord and just a single click (reaction) away. Supports
tons of languages and automatically finds runnable code in messages.
capabilities:
compile and run code from discord messages
reformat java code and fix indentation
reminder function
listen to GitHub repository events and posts summary on push
show date and time from messages in local timezone
send get requests via slash command
discord invite link to invite the bot to your server
paste the link into a browser window and select your server for the bot to join.
replace change-me with the jda token in docker-compose.yml
docker-compose build && docker-compose up -d
run
replace change-me in application.yml when running with spring-boot:run
or add the parameter codey.token with your bots token to your run configuration in your IDE.
run the main method in class CodeyApplication or the maven task spring-boot:run
How to get a discord token and invite your own bot to your server
to reveal your token click Click To Reveal Token and copy that token to the places described above depending on how you run it
select OAuth2
check bot in Scopes
after checking bot you can select the bot permissions Send Messages, Add Reactions, View Channels
and Manage Messages (or whatever it is your bot needs if you don’t intend to build the one in this repo)
now click on Copy next to the generated link and paste it into a browser window.
select your server to let the bot join.
if you run your bot now it shows as online in your servers memberlist.
Supports JSON Schema 7 and below.
Starting from 1.0.0 the language server uses eemeli/yaml as the new YAML parser, which strictly enforces the specified YAML spec version. Default YAML spec version is 1.2, it can be changed with yaml.yamlVersion setting.
Features
YAML validation:
Detects whether the entire file is valid yaml
Validation:
Detects errors such as:
Node is not found
Node has an invalid key node type
Node has an invalid type
Node is not a valid child node
Detects warnings such as:
Node is an additional property of parent
Auto completion:
Auto completes on all commands
Scalar nodes autocomplete to schema’s defaults if they exist
Hover support:
Hovering over a node shows description if available
Document outlining:
Shows a complete document outline of all nodes in the document
Language Server Settings
The following settings are supported:
yaml.yamlVersion: Set default YAML spec version (1.2 or 1.1)
yaml.format.singleQuote: Use single quotes instead of double quotes
yaml.format.bracketSpacing: Print spaces between brackets in objects
yaml.format.proseWrap: Always: wrap prose if it exceeds the print width, Never: never wrap the prose, Preserve: wrap prose as-is
yaml.format.printWidth: Specify the line length that the printer will wrap on
yaml.validate: Enable/disable validation feature
yaml.hover: Enable/disable hover
yaml.completion: Enable/disable autocompletion
yaml.schemas: Helps you associate schemas with files in a glob pattern
yaml.schemaStore.enable: When set to true the YAML language server will pull in all available schemas from JSON Schema Store
yaml.schemaStore.url: URL of a schema store catalog to use when downloading schemas.
yaml.customTags: Array of custom tags that the parser will validate against. It has two ways to be used. Either an item in the array is a custom tag such as “!Ref” and it will automatically map !Ref to scalar or you can specify the type of the object !Ref should be e.g. “!Ref sequence”. The type of object can be either scalar (for strings and booleans), sequence (for arrays), map (for objects).
yaml.maxItemsComputed: The maximum number of outline symbols and folding regions computed (limited for performance reasons).
[yaml].editor.tabSize: the number of spaces to use when autocompleting. Takes priority over editor.tabSize.
editor.tabSize: the number of spaces to use when autocompleting. Default is 2.
http.proxy: The URL of the proxy server that will be used when attempting to download a schema. If it is not set or it is undefined no proxy server will be used.
http.proxyStrictSSL: If true the proxy server certificate should be verified against the list of supplied CAs. Default is false.
[yaml].editor.formatOnType: Enable/disable on type indent and auto formatting array
yaml.disableDefaultProperties: Disable adding not required properties with default values into completion text
yaml.suggest.parentSkeletonSelectedFirst: If true, the user must select some parent skeleton first before autocompletion starts to suggest the rest of the properties.\nWhen yaml object is not empty, autocompletion ignores this setting and returns all properties and skeletons.
yaml.style.flowMapping : Forbids flow style mappings if set to forbid
yaml.style.flowSequence : Forbids flow style sequences if set to forbid
yaml.keyOrdering : Enforces alphabetical ordering of keys in mappings when set to true. Default is false
Adding custom tags
In order to use the custom tags in your YAML file you need to first specify the custom tags in the setting of your code editor. For example, we can have the following custom tags:
The !Scalar-example would map to a scalar custom tag, the !Seq-example would map to a sequence custom tag, the !Mapping-example would map to a mapping custom tag.
We can then use the newly defined custom tags inside our YAML file:
Associating a schema to a glob pattern via yaml.schemas:
yaml.schemas applies a schema to a file. In other words, the schema (placed on the left) is applied to the glob pattern on the right. Your schema can be local or online. Your schema path must be relative to the project root and not an absolute path to the schema.
yaml.schemas allows you to specify json schemas that you want to validate against the yaml that you write. Kubernetes is an optional field. It does not require a url as the language server will provide that. You just need the keyword kubernetes and a glob pattern.
Nested Schema References
Suppose a file is meant to be a component of an existing schema (like a job.yaml file in a circleci orb), but there isn’t a standalone schema that you can reference. If there is a nested schema definition for this subcomponent, you can reference it using a url fragment, e.g.:
Note
This will require reading your existing schema and understanding the schemastore structure a bit. (TODO: link to a documentation or blog post here?)
Using inlined schema
It is possible to specify a yaml schema using a modeline.
# yaml-language-server: $schema=<urlToTheSchema>
Also it is possible to use relative path in a modeline:
The following is the priority of schema association in highest to lowest priority:
Modeline
CustomSchemaProvider API
yaml.settings
Schema association notification
Schema Store
Containerized Language Server
An image is provided for users who would like to use the YAML language server without having to install dependencies locally.
The image is located at quay.io/redhat-developer/yaml-language-server
To run the image you can use:
docker run -it quay.io/redhat-developer/yaml-language-server:latest
Language Server Protocol version
yaml-language-server use vscode-languageserver@7.0.0 which implements LSP 3.16
Language Server Protocol extensions
SchemaSelectionRequests
SupportSchemaSelection Notification
The support schema selection notification is sent from a client to the server to inform server that client supports JSON Schema selection.
Notification:
method: 'yaml/supportSchemaSelection'
params: void
SchemaStoreInitialized Notification
The schema store initialized notification is sent from the server to a client to inform client that server has finished initializing/loading schemas from schema store, and client now can ask for schemas.
Notification:
method: 'yaml/schema/store/initialized'
params: void
GetAllSchemas Request
The get all schemas request sent from a client to server to get all known schemas.
Request:
method: 'yaml/get/all/jsonSchemas';
params: the document uri, server will mark used schema for document
Response:
result: JSONSchemaDescriptionExt[]
interfaceJSONSchemaDescriptionExt{/** * Schema URI */uri: string;/** * Schema name, from schema store */name?: string;/** * Schema description, from schema store */description?: string;/** * Is schema used for current document */usedForCurrentFile: boolean;/** * Is schema from schema store */fromStore: boolean;}
GetSchemas Request
The request sent from a client to server to get schemas used for current document. Client can use this method to indicate in UI which schemas used for current YAML document.
Request:
method: 'yaml/get/jsonSchema';
params: the document uri to get used schemas
Response:
result: JSONSchemaDescription[]
interfaceJSONSchemaDescriptionExt{/** * Schema URI */uri: string;/** * Schema name, from schema store */name?: string;/** * Schema description, from schema store */description?: string;}
Clients
This repository only contains the server implementation. Here are some known clients consuming this server:
The new built server is now located in ./out/server/src/server.js.
node (Yaml Language Server Location)/out/server/src/server.js [--stdio]
Connecting to the language server via stdio
We have included the option to connect to the language server via stdio to help with integrating the language server into different clients.
ESM and UMD Modules
Building the YAML Language Server produces CommonJS modules in the /out/server/src directory. In addition, a build also produces UMD (Universal Module Definition) modules and ES Modules (ESM) in the /lib directory. That gives you choices in using the YAML Language Server with different module loaders on the server side and in the browser with bundlers like webpack.
CI
We use a GitHub Action to publish each change in the main branch to npm registry with the next tag.
You may use the next version to adopt the latest changes into your project.
You can find here a marienbad game (called also NIM) coded in C language with 3 different AI lvl (easy, medium, hard) with the ncurses library.
I coded this project during my studies, basically the aim was to create a text-version marienbad with an IA. I went further and made it more user-friendly with a better graphical approach using the ncurses library and added other features including 3 AI lvls, 3 games mode (Player vs IA, Player vs Player, IA vs IA), 2 different game structures (Rectange/Pyramid), the choice of the structure size, screenshots (for fun, with a fork/execvp on import), menus and game duration.
I also coded the basic text-version which is accessible in the repository text-version.
Note : The current ncurses library path used for the compilation works for MAC OS X.
It’s possible that you might need to change it depending of its location.
You can find it by typing man curses on your shell.
Then replace # include <ncurses.h> and # include <curses.h> by the good path in include/allum.h.
Because we never subsequently use this require, it appears redundant. But its
existence will cause the :fetch effect handler to self-register with re-frame,
which is important to everything that follows.
Second, write an event handler which uses this effect:
With the exception of JSON there is no special handling of the :body value or
the request’s Content-Type header. So for anything except JSON you must
handle that yourself.
For convenience for JSON requests :request-content-type :json is supported
which will:
set the Content-Type header of the request to application/json
evaluate clj→js on the :body then js/JSON.stringify it.
:response-content-type is a mapping of pattern or string to a keyword
representing one of the following processing models in Table 1.
The pattern or string will be matched against the response
Content-Type header
then the associated keyword is used to determine the processing model and result
type.
In the absence of a response Content-Type header the value that is matched
against will default to text/plain.
In the absence of a match the processing model will default to :text.
(reg-event-fx:handler-with-fetch
(fn [{:keys [db]} _]
{:fetch {;; Required. Can be one of:;; :get | :head | :post | :put | :delete | :options | :patch:method:get;; Required.:url"https://api.github.com/orgs/day8";; Optional. Can be one of:;; ClojureScript Collection | String | js/FormData | js/Blob | js/ArrayBuffer | js/BufferSource | js/ReadableStream:body"a string";; Optional. Only valid with ClojureScript Collection as :body.:request-content-type:json;; Optional. Map of URL query params:params {:user"Fred":customer"big one"}
;; Optional. Map of HTTP headers.:headers {"Authorization""Bearer QWxhZGRpbjpvcGVuIHNlc2FtZQ==""Accept""application/json"}
;; Optional. Defaults to :same-origin. Can be one of:;; :cors | :no-cors | :same-origin | :navigate;; See https://developer.mozilla.org/en-US/docs/Web/API/Request/mode:mode:cors;; Optional. Defaults to :include. Can be one of:;; :omit | :same-origin | :include;; See https://developer.mozilla.org/en-US/docs/Web/API/Request/credentials:credentials:omit;; Optional. Defaults to :follow. Can be one of:;; :follow | :error | :manual;; See https://developer.mozilla.org/en-US/docs/Web/API/Request/redirect:redirect:follow;; Optional. Can be one of:;; :default | :no-store | :reload | :no-cache | :force-cache | :only-if-cached;; See https://developer.mozilla.org/en-US/docs/Web/API/Request/cache:cache:default;; Optional. Can be one of:;; :no-referrer | :client;; See https://developer.mozilla.org/en-US/docs/Web/API/Request/referrer:referrer:client;; See https://developer.mozilla.org/en-US/docs/Web/Security/Subresource_Integrity:integrity"sha256-BpfBw7ivV8q2jLiT13fxDYAe2tJllusRSZ273h2nFSE=":timeout5000:response-content-types {#"application/.*json":json"text/plain":text"multipart/form-data":form-data#"image/.*":blob"application/octet-stream":array-buffer}
;; Optional. If you want to associate multiple requests with a single;; AbortSignal you can pass it as value for the :abort-signal and use your own;; (external) AbortController to handle aborts.:abort-signal (.-signal (js/AbortController)
;; Use :request-id with ::abort effect to abort the request;; Note: when using :abort-signal you cannot abort the request using :request-id:request-id:my-custom-request-id;; or auto-generated:on-request-id [:fetch-request-id]
:on-success [:good-fetch-result]
:on-failure [:bad-fetch-result]}}))
Note: Reusing the same request-id for multiple different requests will not work.
The ::abort effect would only abort the last of these requests.
Abort multiple requests by using an external AbortController. Pass the AbortController’s AbortSignal instance
as value for the :abort-signal inside the ::fetch effect map.
Note: When you decide to use an external AbortController by passing its :abort-signal
in the ::fetch map, you cannot abort this request via the ::abort effect anymore.
Unfortunately for cases where there is no server response the js/fetch API
provides terribly little information that can be captured programatically. If
:on-failure is dispatched with a response like:
{:problem:fetch:problem-message"Failed to fetch"}
Then it may be caused by any of the following or something else not included here:
:url syntax error
unresolvable hostname in :url
no network connection
Content Security Policy
Cross-Origin Resource Sharing (CORS) Policy or lacking :mode :cors
Look in the Chrome Developer Tools console. There is usually a useful error
message indicating the problem but so far I have not found out how to capture it
to provide more fine grained :problem keywords.
If there is a problem reading the body after the server has responded, such as
a JSON syntax error, :on-failure will be dispatched with a response like:
{:problem:body:reader:json:problem-message"Unexpected token < in JSON at position 0"
... rest of normal response map excluding :body ... }
Previously with :http-xhrio URL parameters and the request body were both
keyed as :params. Which one it was depended on the :method (i.e. GET would
result in URL parameters whereas POST would result in a request body).
Now with :fetch there are two keys.
:params is only URL parameters. It will always be added to the URL regardless
of :method.
:body is the request body. In practice it is only supported for :put, :post
and :patch methods. Theoretically HTTP request bodies are allowed for all
methods except :trace, but just don’t as there be dragons.
This has completely changed in every way including the keys used, how to specify
the handling of the response body and the types of values used for the response
body. See Request Content Type and Response Content Types.
Permission is hereby granted, free of charge, to any person obtaining a copy
of this software and associated documentation files (the “Software”), to deal
in the Software without restriction, including without limitation the rights
to use, copy, modify, merge, publish, distribute, sublicense, and/or sell
copies of the Software, and to permit persons to whom the Software is
furnished to do so, subject to the following conditions:
The above copyright notice and this permission notice shall be included in all
copies or substantial portions of the Software.
THE SOFTWARE IS PROVIDED “AS IS”, WITHOUT WARRANTY OF ANY KIND, EXPRESS OR
IMPLIED, INCLUDING BUT NOT LIMITED TO THE WARRANTIES OF MERCHANTABILITY,
FITNESS FOR A PARTICULAR PURPOSE AND NONINFRINGEMENT. IN NO EVENT SHALL THE
AUTHORS OR COPYRIGHT HOLDERS BE LIABLE FOR ANY CLAIM, DAMAGES OR OTHER
LIABILITY, WHETHER IN AN ACTION OF CONTRACT, TORT OR OTHERWISE, ARISING FROM,
OUT OF OR IN CONNECTION WITH THE SOFTWARE OR THE USE OR OTHER DEALINGS IN THE
SOFTWARE.
Before using this plugin, save the BrowserStack username and access key to environment variables BROWSERSTACK_USERNAME and BROWSERSTACK_ACCESS_KEY.
Project name and build name will be displayed in BrowserStack if you set the BROWSERSTACK_PROJECT_NAME and BROWSERSTACK_BUILD_ID environment variables, or the project and build properties in the configuration file.
If you have troubles starting multiple browsers at once, or get browserstack-local related errors like #27,
try setting the BROWSERSTACK_PARALLEL_RUNS environment variable to the number of browsers you want to run simultaneously, or to 1 if you want to run just one browser.
You can determine the available browser aliases by running
testcafe -b browserstack
If you run tests from the command line, use the alias when specifying browsers:
Tip: you can skip version (@53.0) or/and OS name (:Windows 10).
BrowserStack Proxy Options
Proxy options can be passed via environment variables.
BROWSERSTACK_PROXY – a string that specifies a proxy for the BrowserStack local binary. It should have the following structure: user:pass@proxyHostName:port,
BROWSERSTACK_LOCAL_PROXY – a string that specifies a proxy for the local web server. It should have the following structure: user:pass@proxyHostName:port,
BROWSERSTACK_FORCE_PROXY – if it’s not empty, forces all traffic of BrowserStack local binary to go through the proxy,
BROWSERSTACK_FORCE_LOCAL – if it’s not empty, forces all traffic of BrowserStack local binary to go through the local machine
BROWSERSTACK_NO_LOCAL – If it’s not empty, forces all traffic of BrowserStack to go over public internet
BROWSERSTACK_LOCAL_IDENTIFIER – a string identifier of an open BrowserStack local tunnel. If it’s not empty, a new local tunnel is not created. Instead, the browser provider uses an existing local tunnel with the specified identifier.
JS testing supports more types of devices (compare: JS Testing Devices
vs Automate Devices),
while Automate allows for much longer tests (2 hours vs 30 minutes)
and provides some additional features (like the window resizing functionality).
TestCafe uses the JS Testing API by default. In order to use BrowserStack Automate,
set the BROWSERSTACK_USE_AUTOMATE environment variable to 1.
To set the display resolution, use the BROWSERSTACK_DISPLAY_RESOLUTION environment variable or the resolution property in the configuration file.
Valid resolutions can be found here.
Remember that this only sets the display resolution and does not resize the browser window. You’ll still need to use TestCafe’s window resizing API to do so.
BrowserStack Automate allows you to provide options for its internal Selenium Grid in the form of key-value pairs called capabilities.
To specify BrowserStack capabilities via the TestCafe BrowserStack provider, use environment variables or the configuration file. This provider supports the following capabilities:
Capability
Environment Variable
project
BROWSERSTACK_PROJECT_NAME
build
BROWSERSTACK_BUILD_ID (BROWSERSTACK_BUILD_NAME may also be used)
You can specify BrowserStack capability options in a JSON configuration file as an alternative to environment variables. Use capability names for configuration file properties. If an option is set in both the configuration file and an environment variable, the environment variable setting takes priority.
To use a configuration file, pass the file path in the BROWSERSTACK_CAPABILITIES_CONFIG_PATH environment variable:
In this instance, BrowserStack will refuse to provide all the required machines and TestCafe will throw an error:
Unable to establish one or more of the specified browser connections.
To keep within your account limitations, you can run tests sequentially (or in batches), like in the following bash script (credits to @maoberlehner for this example):
browsers=( "browserstack:ie@10.0:Windows 8""browserstack:ie@11.0:Windows 10""browserstack:edge@15.0:Windows 10""browserstack:edge@14.0:Windows 10""browserstack:firefox@54.0:Windows 10""browserstack:firefox@55.0:Windows 10""browserstack:chrome@59.0:Windows 10""browserstack:chrome@60.0:Windows 10""browserstack:opera@46.0:Windows 10""browserstack:opera@47.0:Windows 10""browserstack:safari@9.1:OS X El Capitan""browserstack:safari@10.1:OS X Sierra" )
foriin"${browsers[@]}"do
./node_modules/.bin/testcafe "${i}" tests/acceptance/
done
Configuring the API Polling Interval for BrowserStack Automate
BrowserStack Automate is based on WebDriver, which forcefully shuts down inactive sessions after an idle timeout expires. This works for WebDriver users, since each page action (clicks, types, etc.) triggers a WebDriver command and thus resets the idle timer.
However, TestCafe is not WebDriver-based. It simulates page actions in a different way and it doesn’t trigger WebDriver commands. To prevent test session from being terminated by the BrowserStack WebDriver server due to inactivity, TestCafe triggers a dummy WebDriver command once in a while.
However, if the network connection is unstable, a request that triggers this dummy command can fail. In this instance, the BrowserStack WebDriver server doesn’t receive the command before the idle timeout expires, and the test session can be terminated due to inactivity.
If your BrowserStack builds are terminated due to the idle timeout frequently, you can try to decrease the delay before the dummy WebDriver command is sent. In case the first request fails to trigger the command due to a network problem, the next may succeed and thus prevent your test session from being terminated.
Use the TESTCAFE_BROWSERSTACK_API_POLLING_INTERVAL environment variable to control this delay. This variable specifies time (in millisecinds) to pass until an additional request that triggers an dummy WebDriver command is sent to the BrowserStack WebDriver server. The default delay is 80000 millisecinds. If the BrowserStack idle timeout is 90 seconds (or 90000 milliseconds), at least one request is processed by the BrowserStack server in normal network conditions. If you set it to 40000, two requests are processed by the WebDriver server if your network is good. In case of network issues, either request may fail without breaking the build.
เริ่มต้น Project เหมือนกับตอนที่ทำ mysql เพียงแต่เพิ่มการเชื่อมต่อกับ redis และ cron
constexpress=require('express')constbodyParser=require('body-parser')constmysql=require('mysql2')constredis=require('redis')constcron=require('node-cron')constapp=express()app.use(bodyParser.json())constport=8000/* เชื่อมต่อกับ mysql ตามปกติ (สร้าง initMySql()) */letredisConn=nullconstinitRedis=async()=>{redisConn=redis.createClient()redisConn.on('error',(err)=>{console.log('Redis error: '+err)})awaitredisConn.connect()}app.listen(port,async()=>{awaitinitMySql()awaitinitRedis()console.log(`Server is running on port ${port}`)})
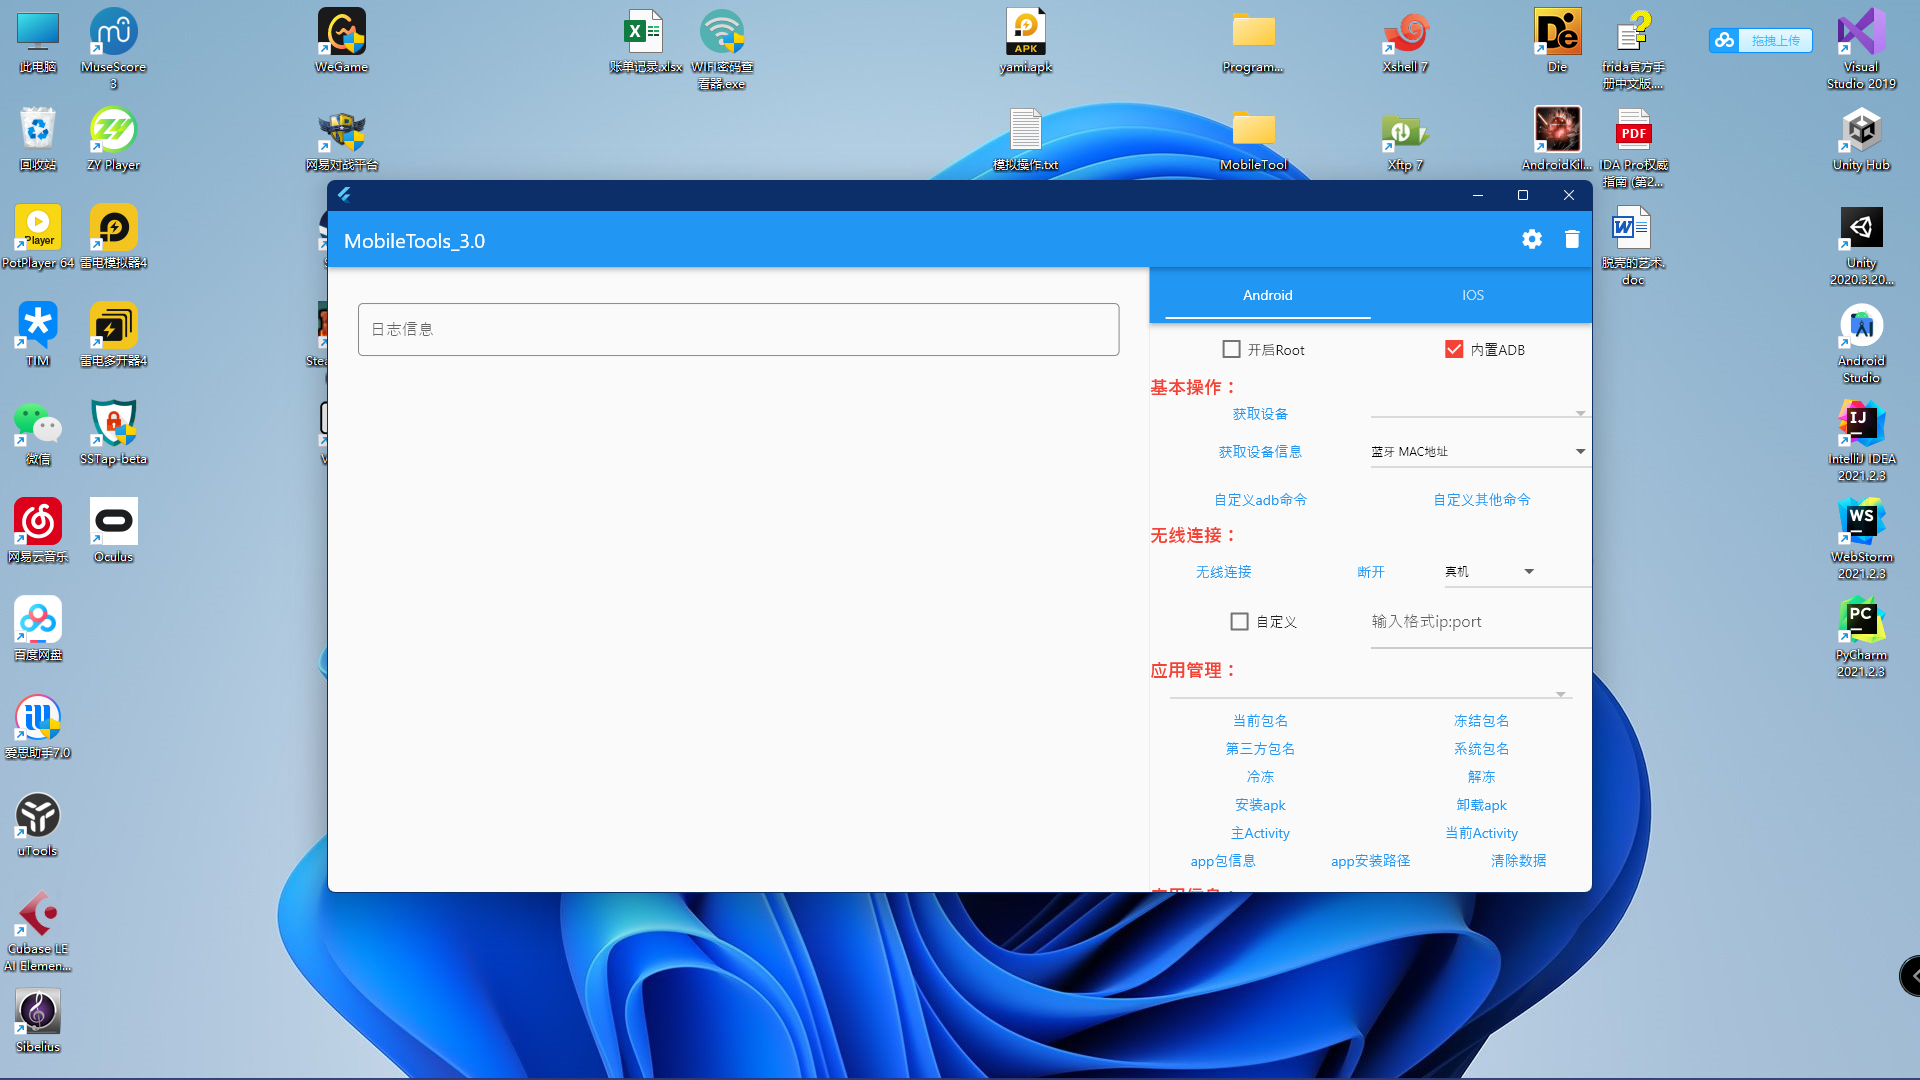
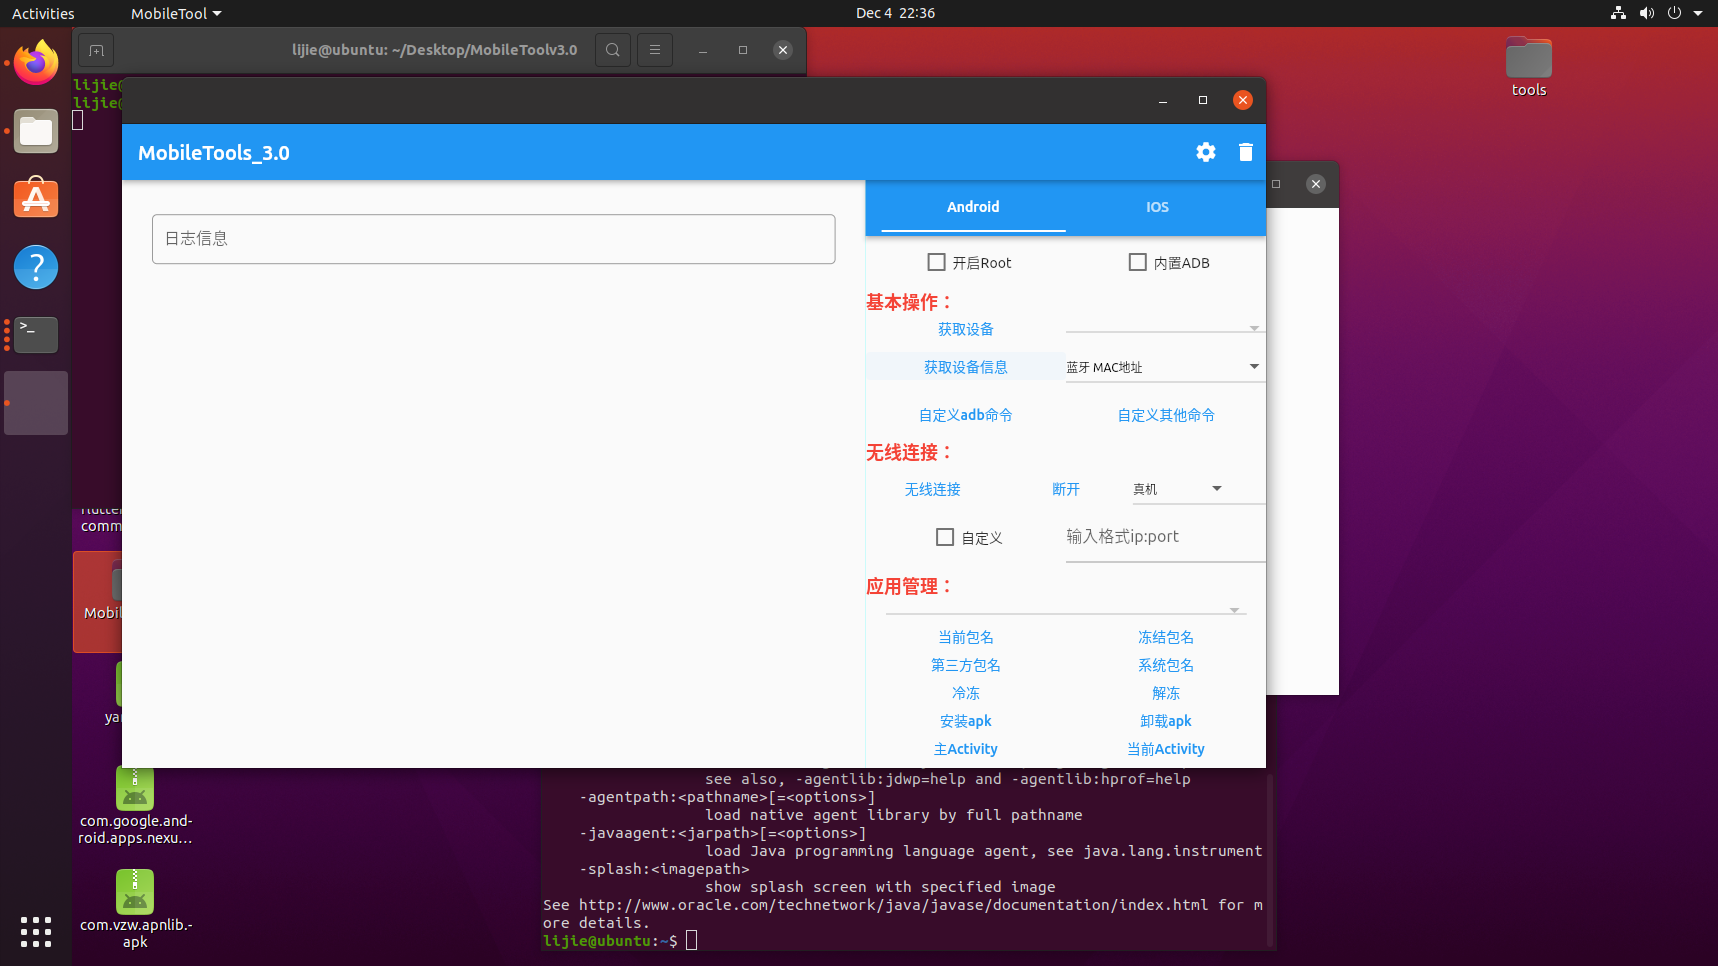
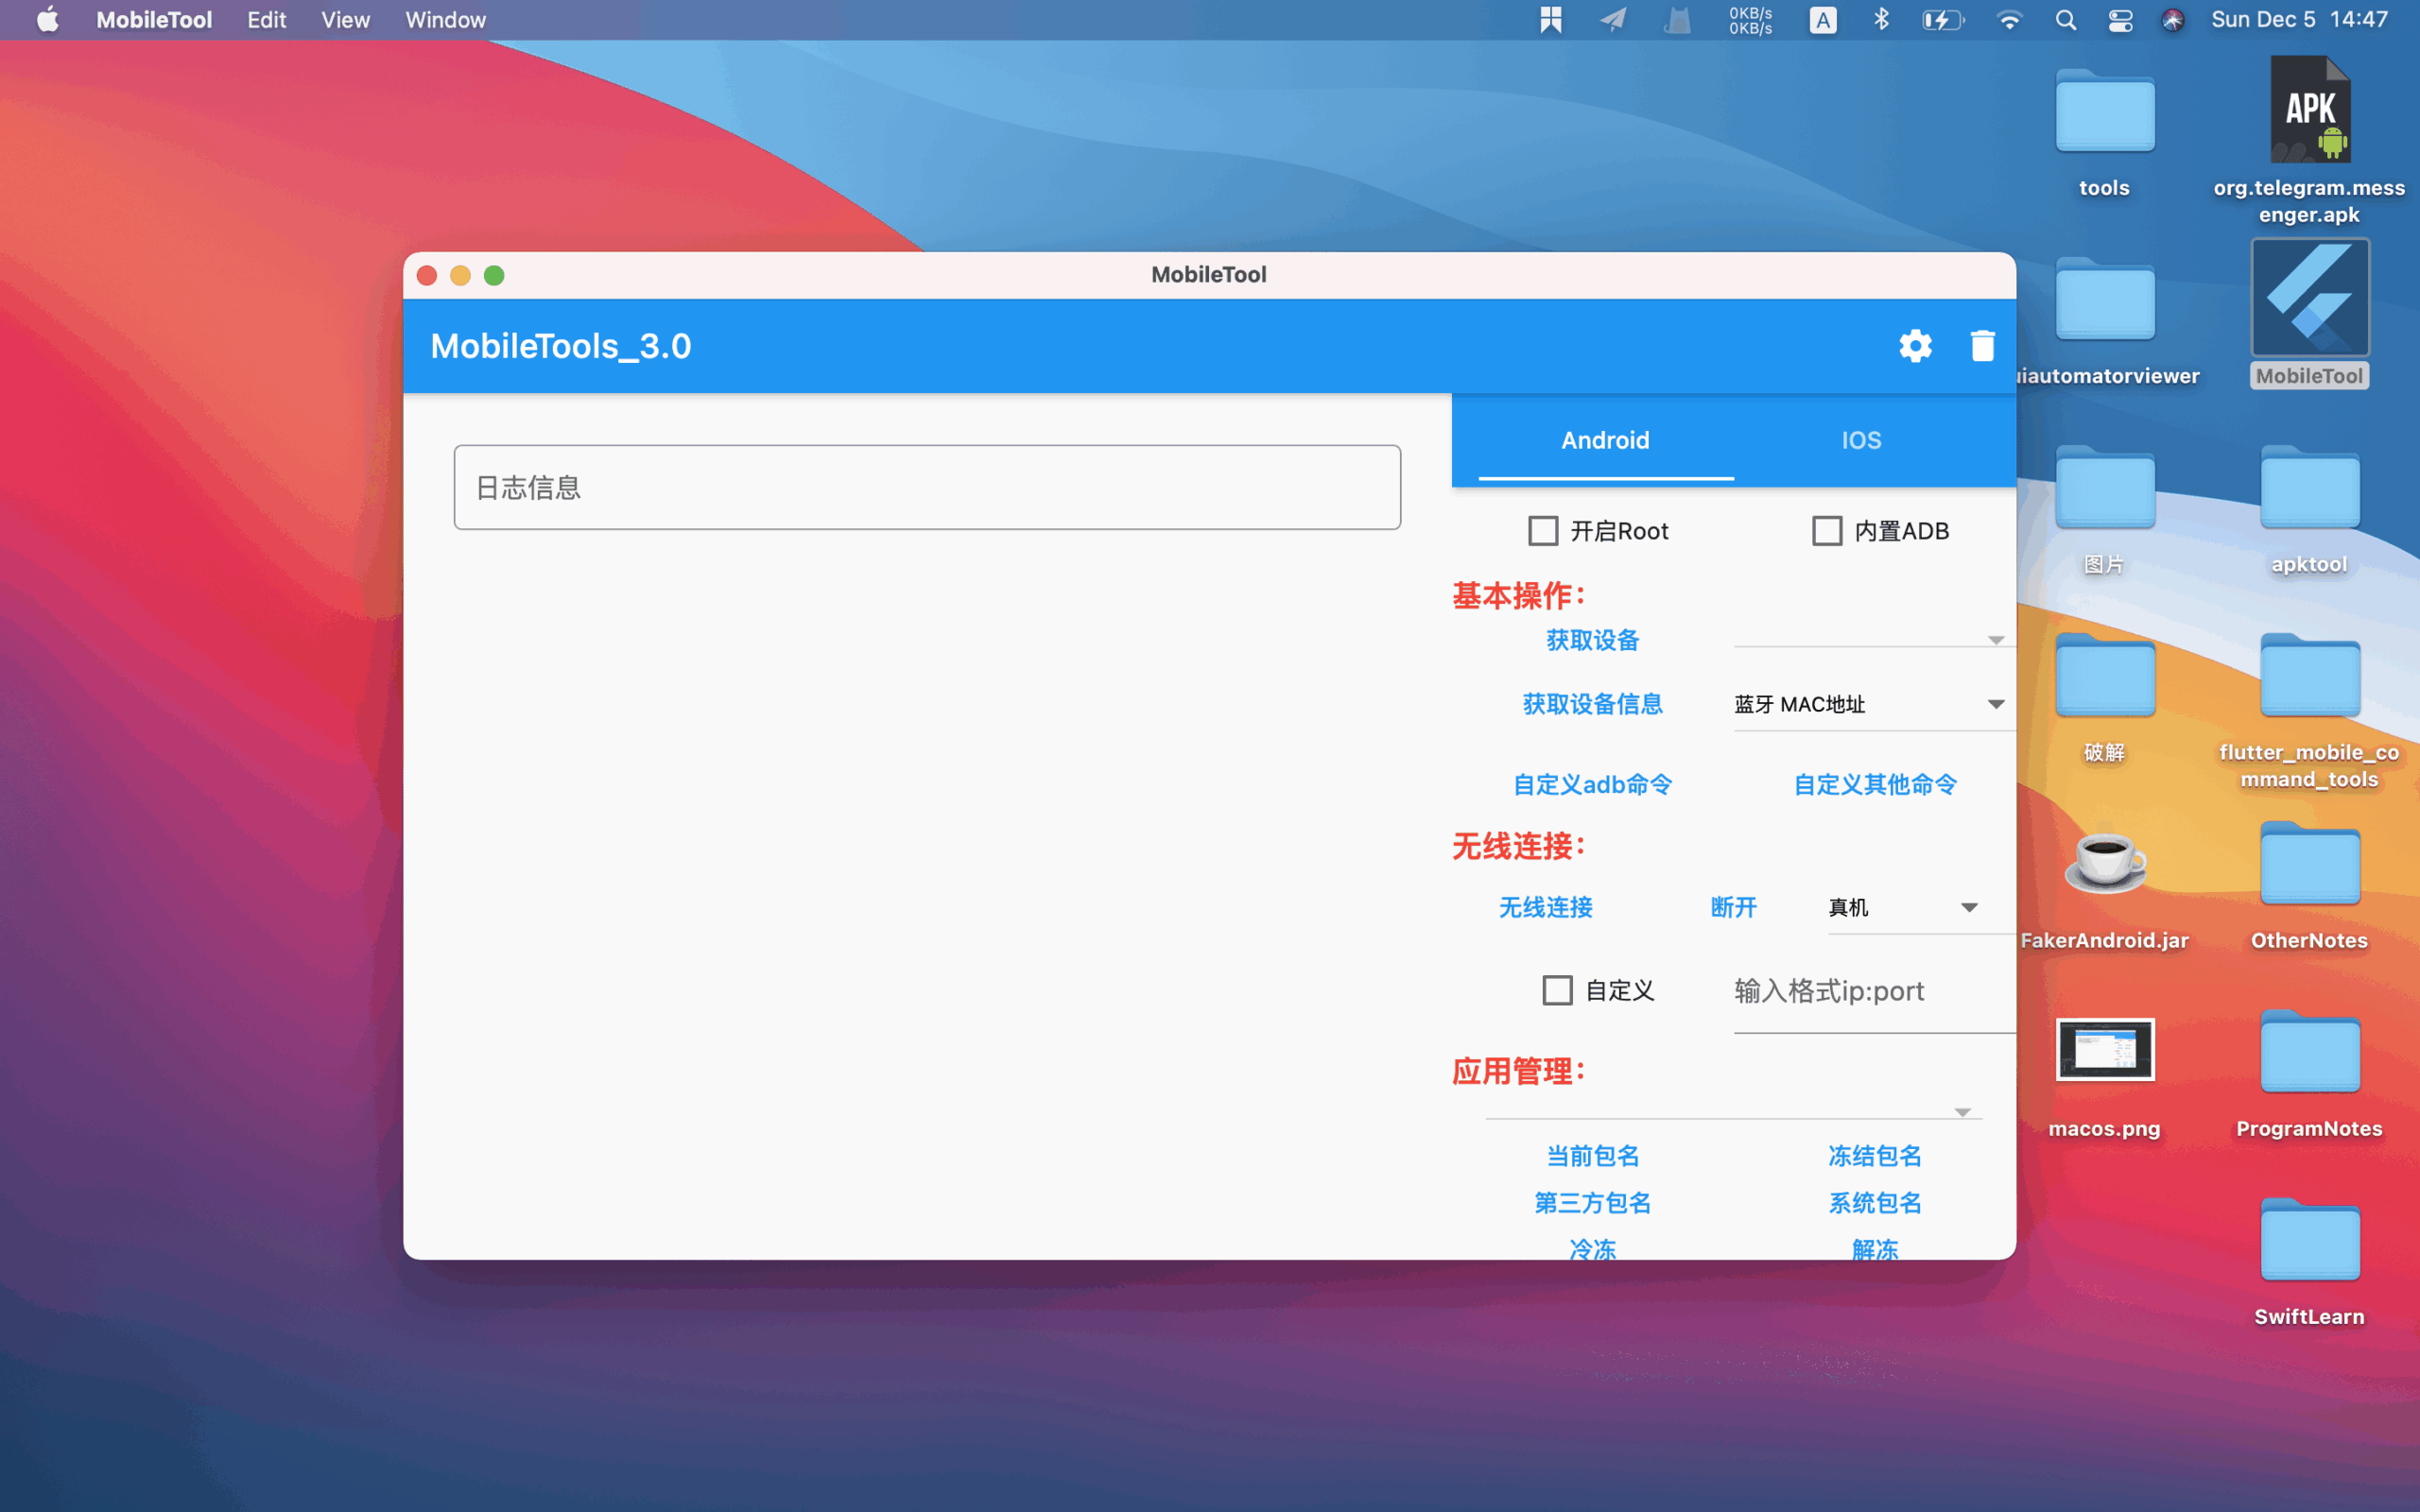
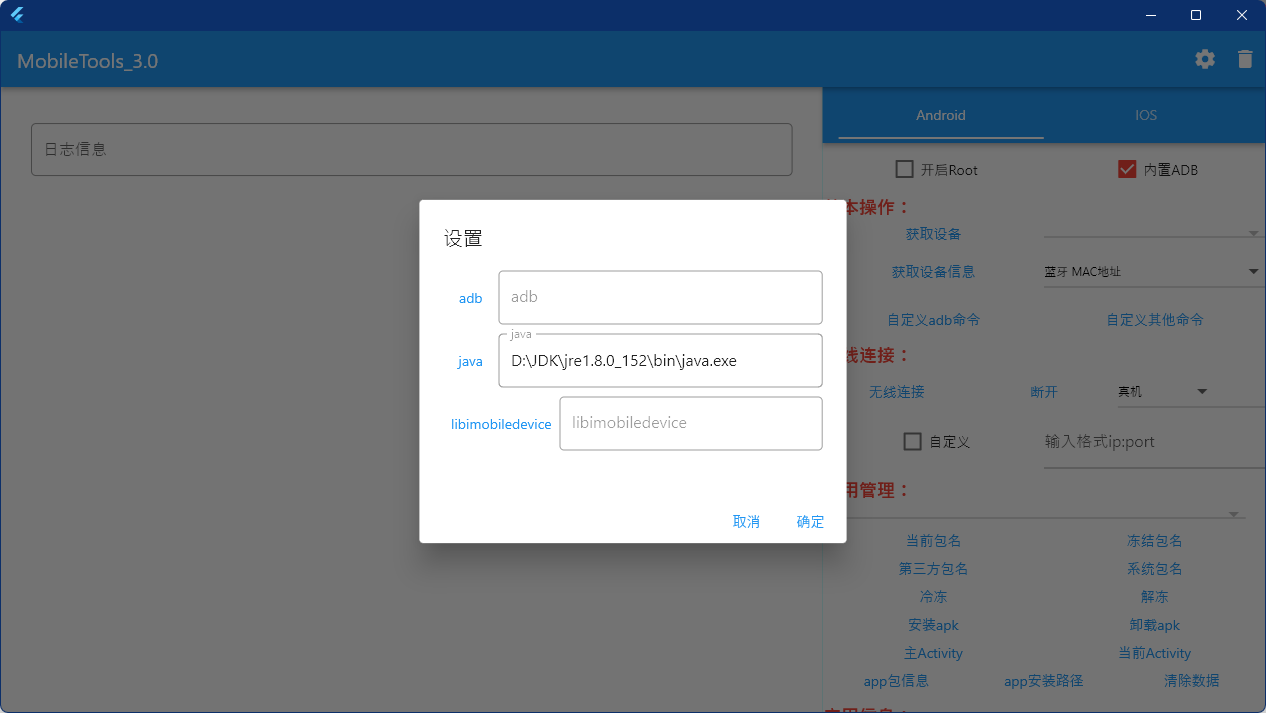
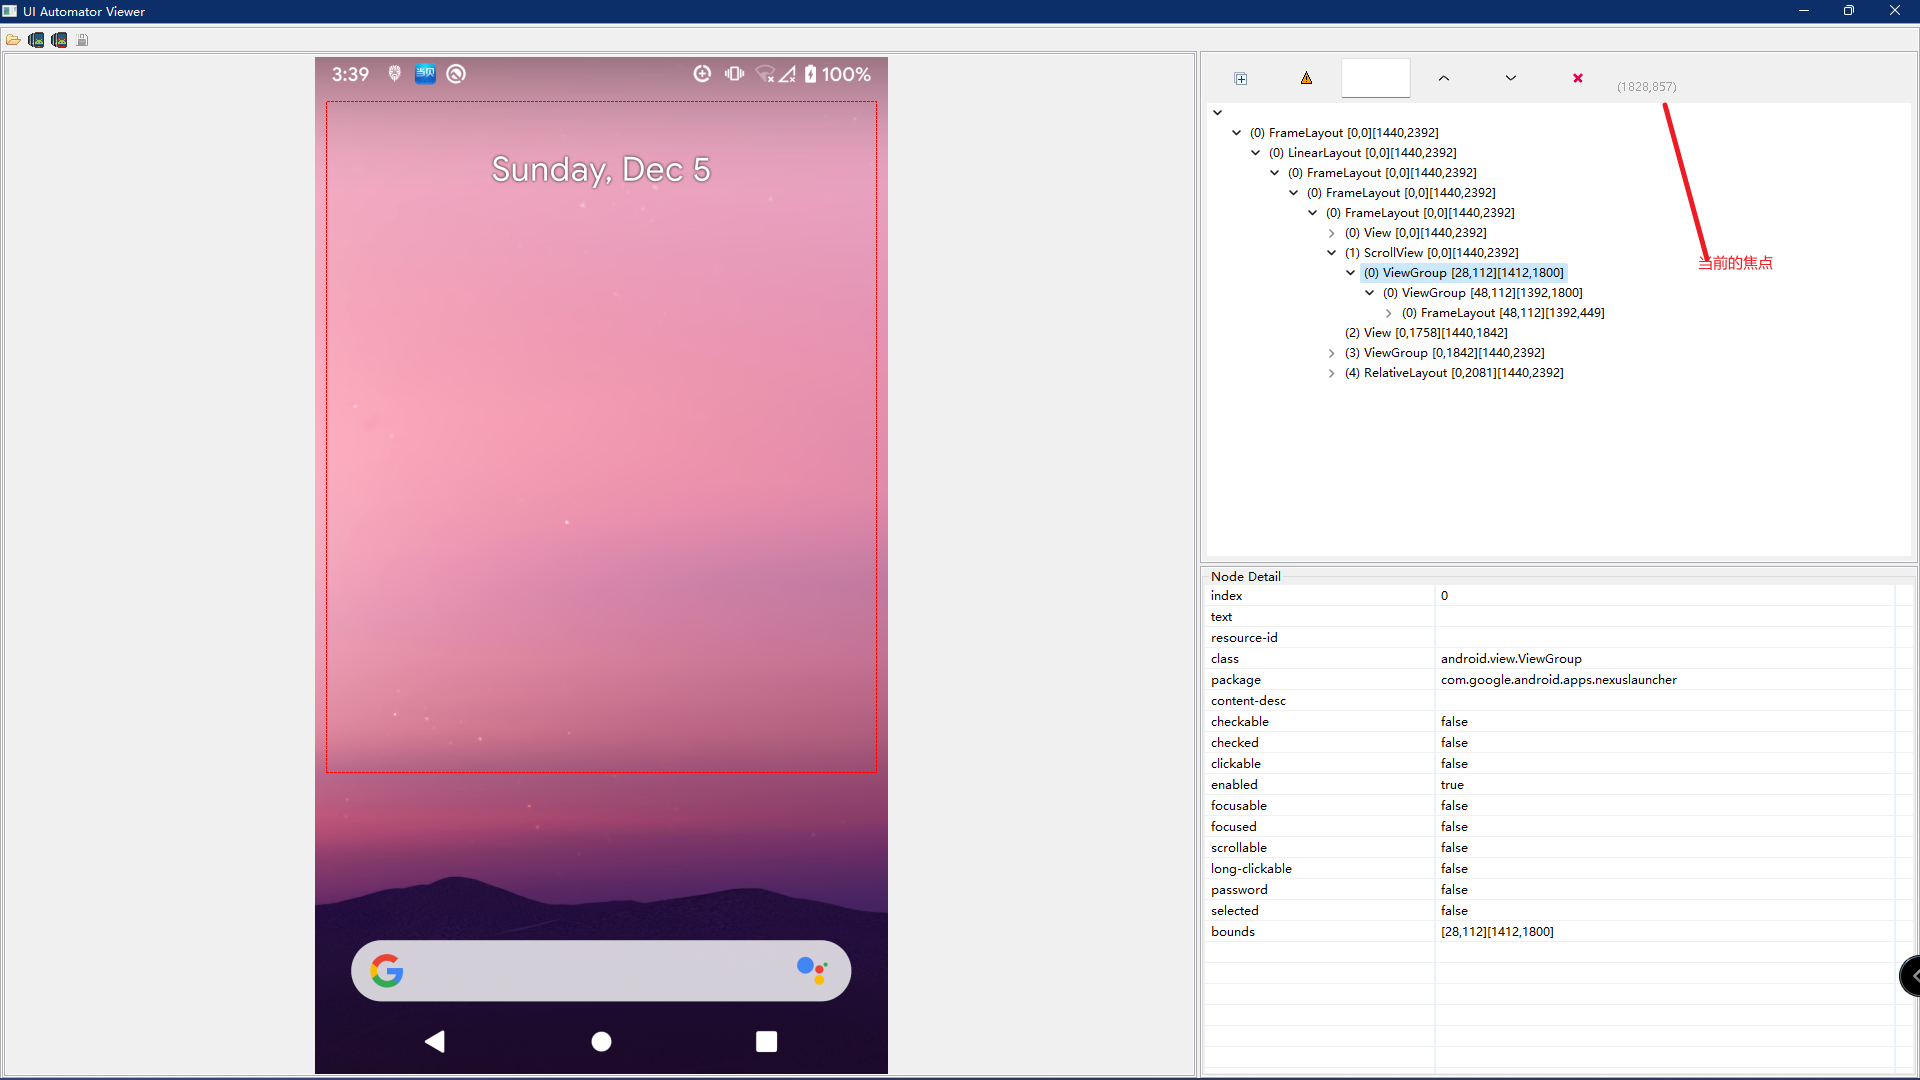


 https://github.com/LuckyLi706/flutter_mobile_command_tools